THE DESIGN
When I got married, I was an unemployed recent art school grad. I had plenty of time and lots of creativity to devote to crafting an intricately detailed ceremony and reception. However I couldn’t have done it without my genius friend, Eva. She was enlisted to create stunning flower arrangements for the wedding on a small budget.
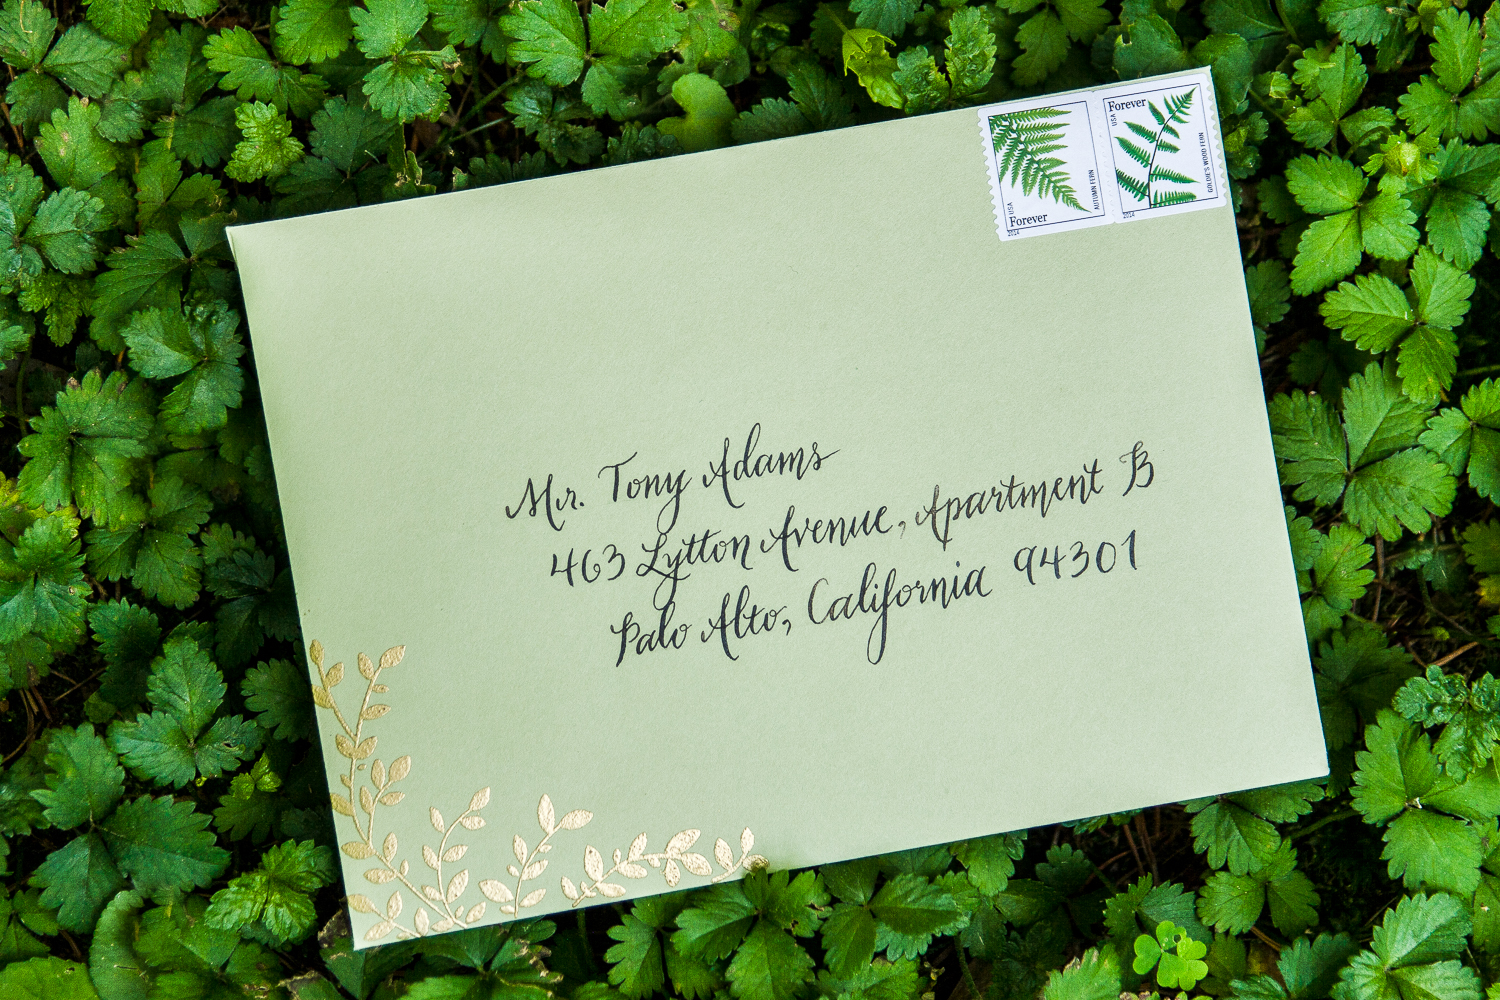
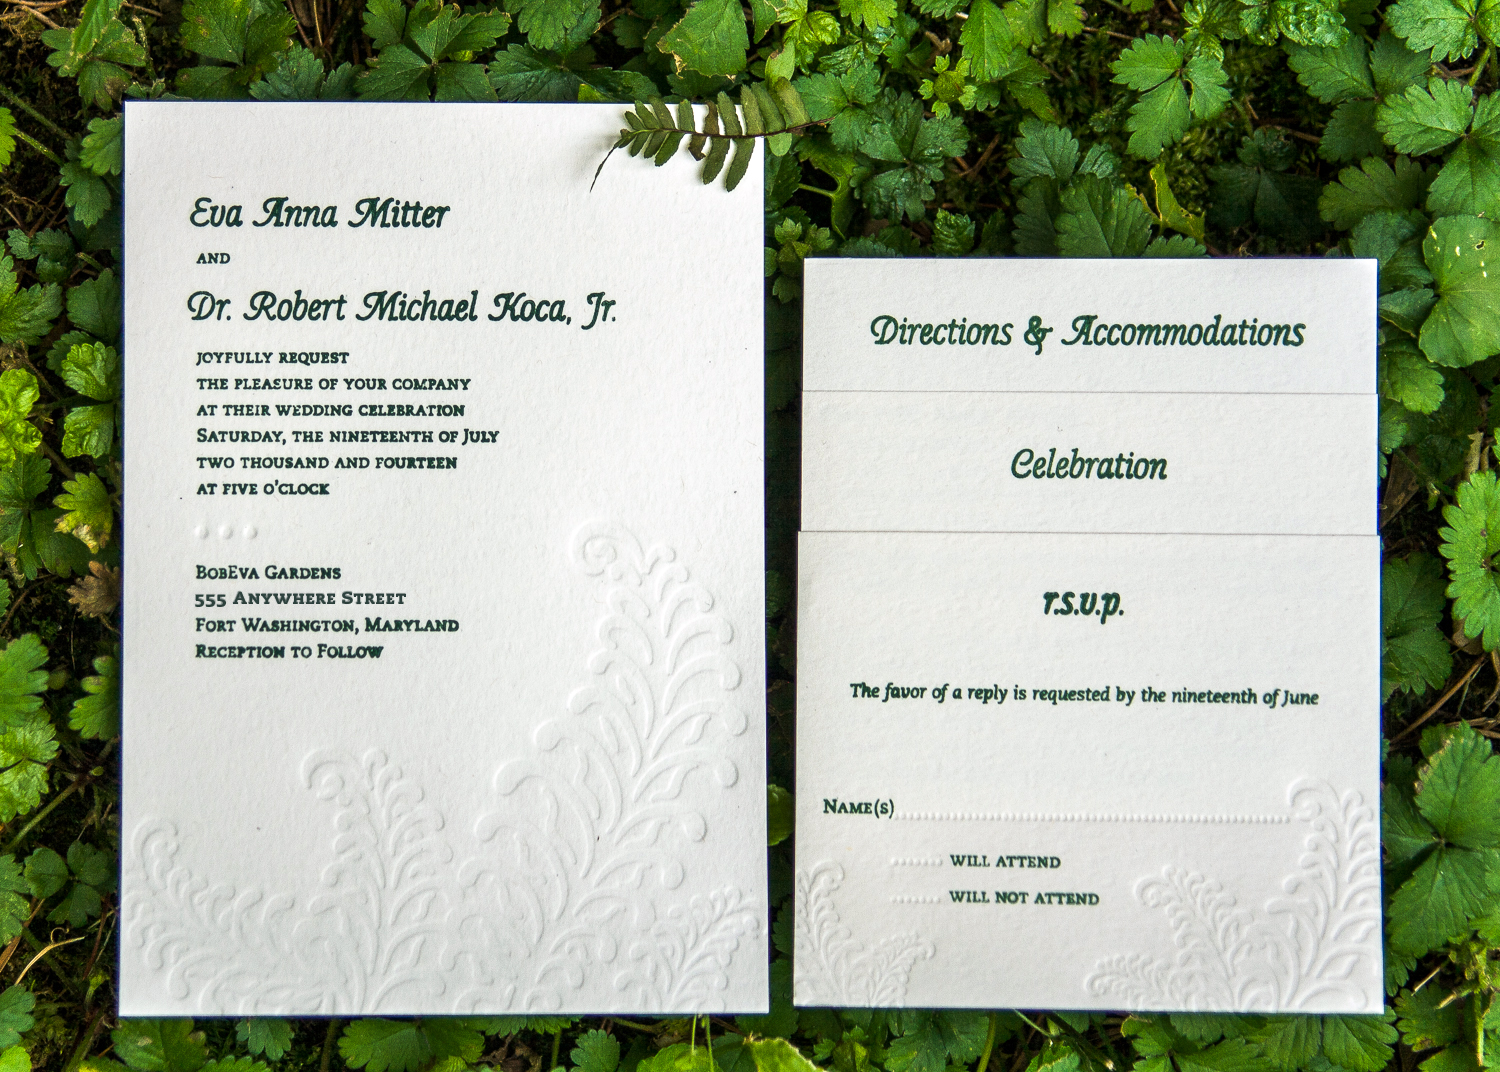
Naturally, when she announced her engagement five years later, I was eager to repay the favor. She will be holding the ceremony in her lovely backyard, but the celebration won’t look like your typical “backyard wedding.” One of her many talents includes concocting cakes that double as epic sculptures, so she’ll be baking her own wedding cake which will be adorned with molded fondant ferns. This culinary artwork is where the inspiration for the invitation design was born.
When reviewing possibilities, the couple gravitated towards the tactility of my own letterpressed wedding invitations. The local print shop provided a reasonable quote, but after several more components were added the final anticipated price doubled.

Because I didn’t want to redesign everything at the last minute, or more honestly because of my stubborn DIY spirit, I purchased a plastic craft L letterpress by Lifestyle Crafts. My faithful husband saw, long before I did, how crazy this endeavor was and cleared his schedule to assist me so I didn’t die. His help is the reason that these invitations made it in the mail at all. Thanks also goes to my friend Rachel, who helped clean up the illustrations.
I was excited about my newly acquired printing super powers until the press bed cracked clear in two after the seventh pull. We appropriately panicked, poured a strong drink, slapped some packing tape on it and decided to keep going. (Duct tape would have been too thick, when printing on a letterpress, every tiny layer affects the print.)
THE PRINTING
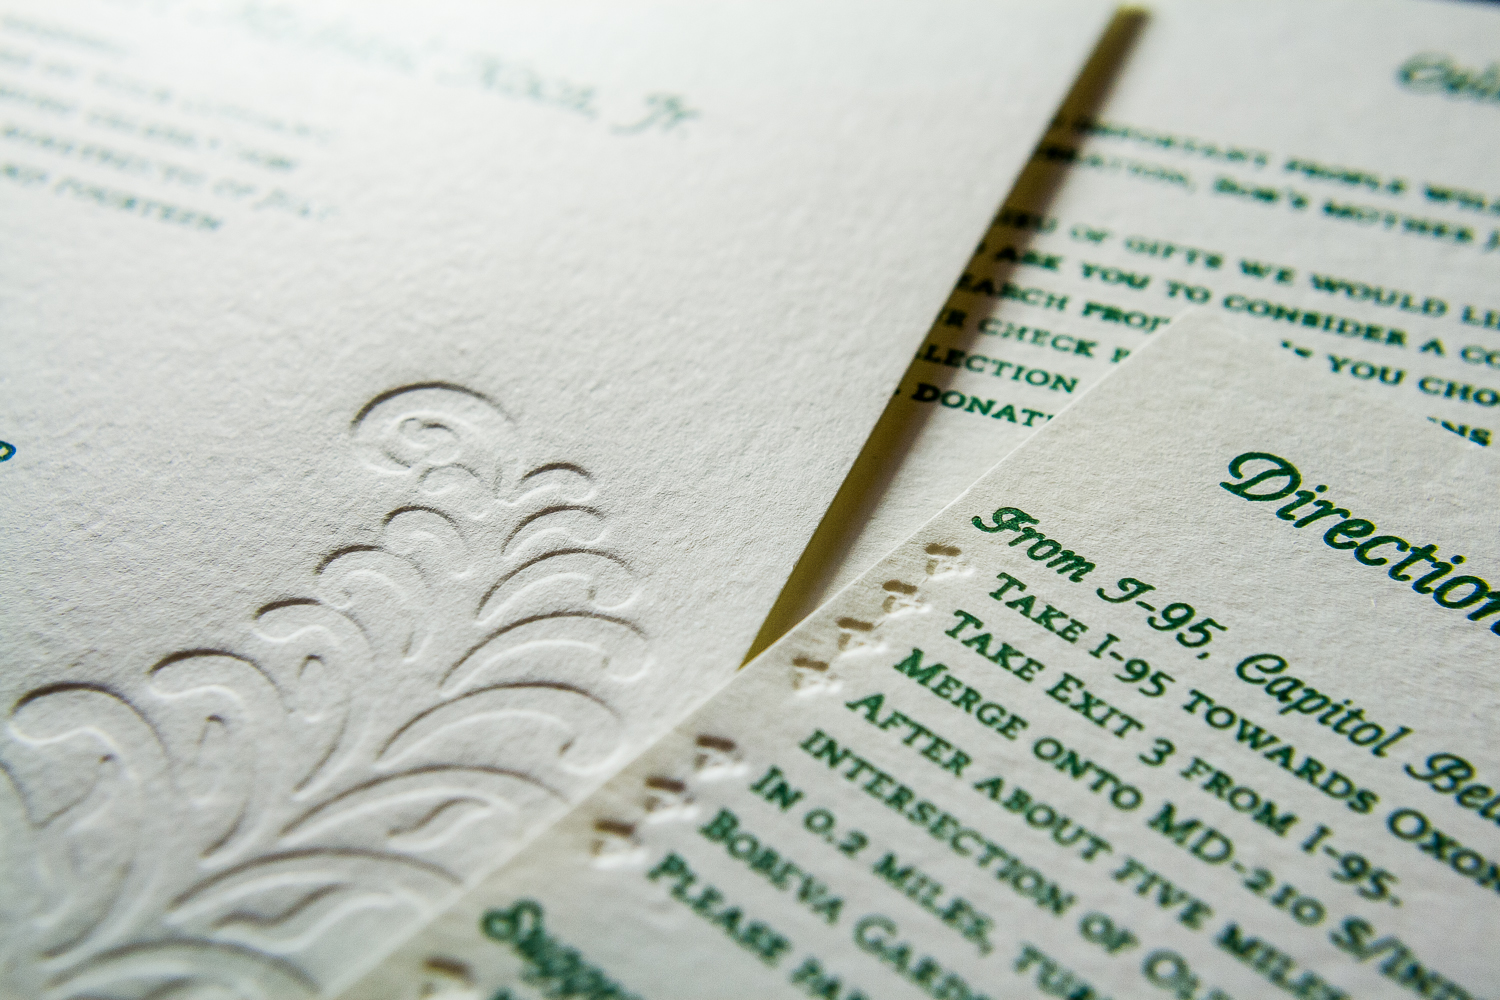
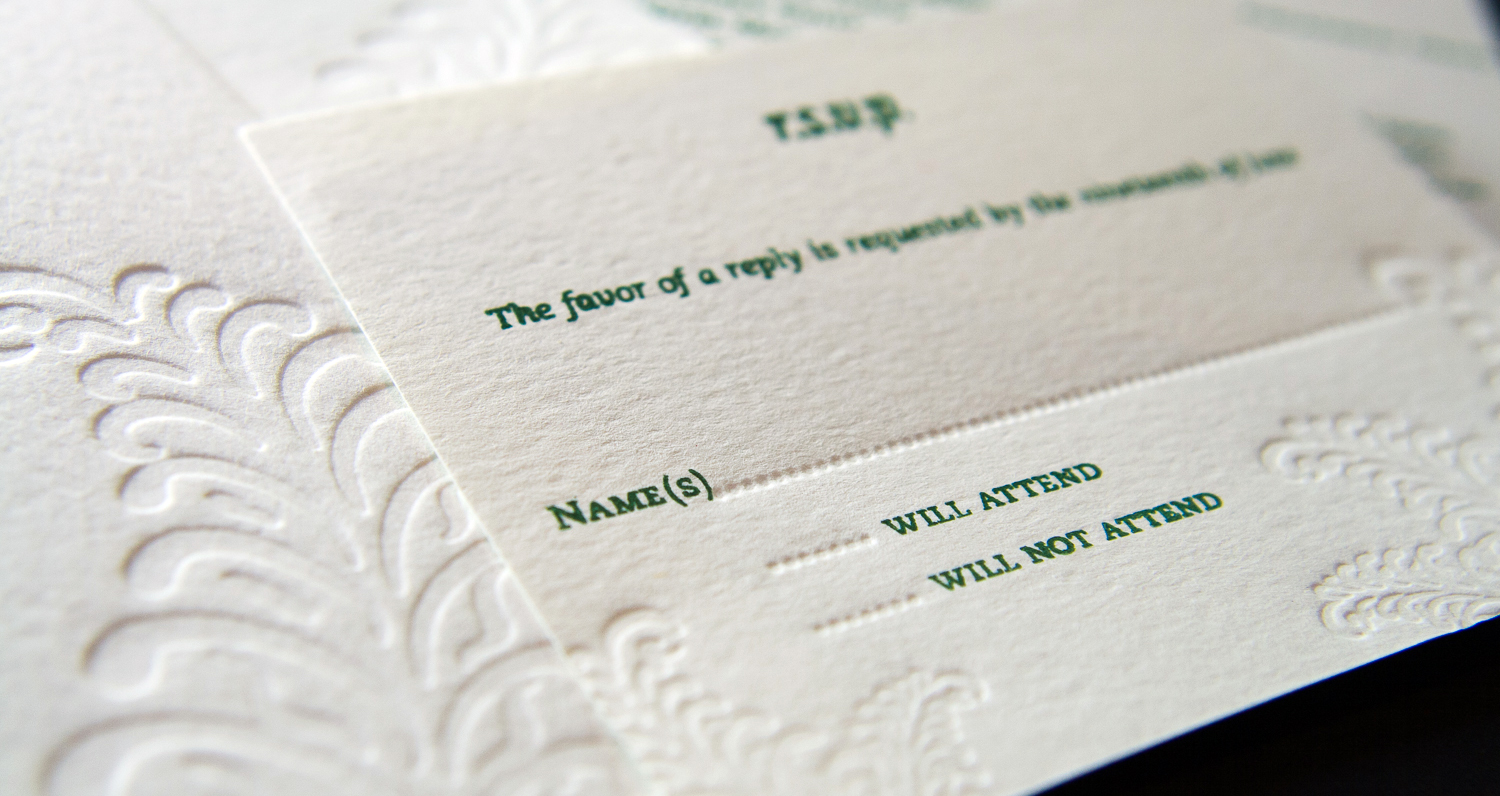
The blind embossing turned out great. Several sheets of paper were placed under the printing bed to raise its height as well as under the invite paper itself to asborb the impression deeper. The results were quite impressive and easy to replicate.
Enter the ink. Oh man. When I printed my own invites, I was in a college class and had a well maintained vintage letterpress to work on. The impressions were crisp, deep, and beautiful every time. When printing on the plastic tabletop press we were happy if we could coax legible type onto the paper. The biggest challenge was keeping ink from filling the bowls of the letters. We eventually solved this by thinning the starter kit ink, something accomplished by adding a few drops of safflower oil. (This only works for oil based ink.) Next time I will try a higher quality ink and see if that enables deeper prints – we were just lightly kissing the paper to the press.
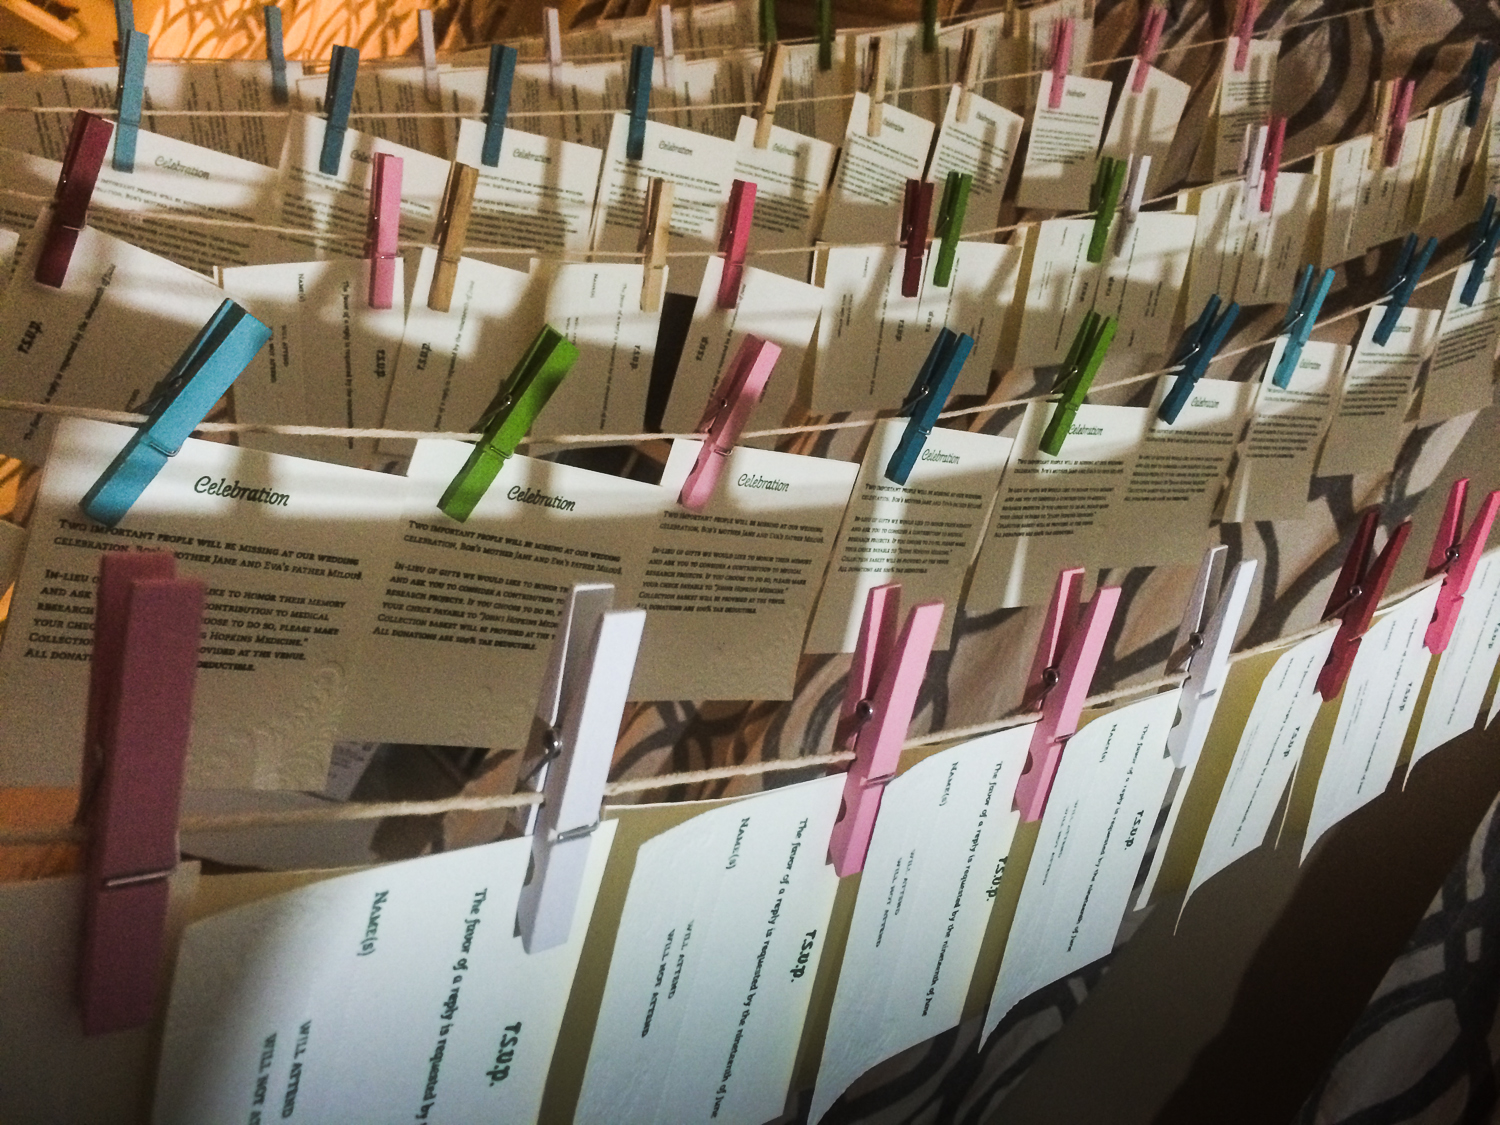
The prints were hung on our makeshift drying rack to cure the ink overnight. Then the pieces were assembled into thermographically embellished envelopes and sealed with gold wax. All in all, I think they turned out lovely.

WOULD I USE THE DIY LETTERPRESS AGAIN?
We faced a lot of challenges along the way but were successful in the end. If you plan on using the L letterpress, I hope you can learn from my mistakes!
Challenge:
We were unable to achieve a deep impression while also keeping the ink from spreading. The machine produced beautiful blind embosses but when ink was applied, however lightly, it spread into illegible mush if pressed too hard.
Solution:
It turned out the ink we were applying was too thick. We thinned it with safflower oil and used a 6 inch rubber brayer to smoothly apply the ink. It was helpful to have a large glass surface and a palette knife to thoroughly mix the inks – the small 6”x6” plastic ink plate that is provided with the kit is too small for comfortable use. Be sure to cover your working space in plastic.
Challenge:
The ink was not applied to the paper evenly, even with thinned out ink. This may have been due to an uneven plate, but more likely it was because of the loose hinges in the printing bed.
Solution:
Just like we raised the bed to get a deeper impression over all, we could compensate for the differences in ink application by raising the height of small sections of the printing plate. At one point we cut tiny strips of regular printer paper and raised one half line of type at a time. It worked well. When working with letterpress you start thinking in mils (about a thousandth of an inch).
Challenge:
We were surprised by the high cost of plates, but I also laid them out in the most inefficient manner there was. My files looked like separations – a different color on each plate, complete with blank space and generous crop marks.
Solution:
To save costs in the future, if its possible to get one plate with the whole design on it, go for it. The custom polymer plates are easily cut with regular scissors and they’re adhered to the press with double sided adhesive. As long as your design elements allow for it, this is a great way to save a lot of cash.
I’m glad I own this plastic letterpress and I love the embossing it produces, but the first project should probably not have been wedding invitations on a tight deadline. Beautiful prints are challenging but possible and the nature of hand inking every time guarantees inconsistencies.
In the end, we printed over 75 of each component to choose 35 acceptable enough to mail. There is a definite learning curve, but for small projects it will be handy to have in my arsenal of tools.